Follow these steps to add a resource to a Class record.
- Locate and open the Class record.
- Use the
 button on the Resources tab to open the Add a resource pop-up window.
 - Add a name for the resource. This name will appear in the resource card on the Resources tab.
- Class record resources published to the Parent Portal will appear as a View Resources link in the Class card.
- Class record resources published to the Staff Portal will appear under Manage Classes > Actions > Resources.
- Select the Audience. If you want parents and staff to see the resource you are adding, click both to enable.
Is this a resource for parents?
Class resources for parents are displayed in the Parent Portal.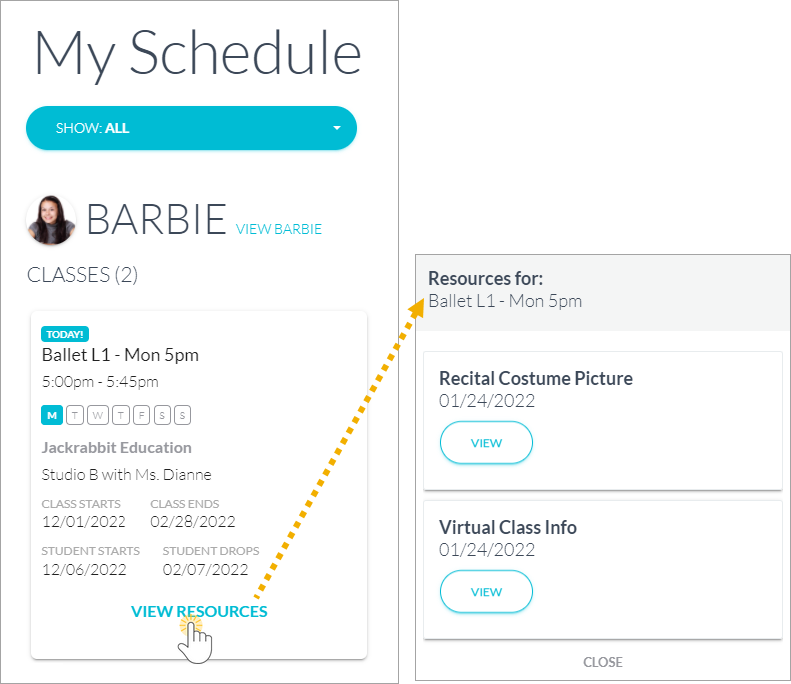
Is this a resource for staff?
Class resources for staff are displayed in the Staff Portal.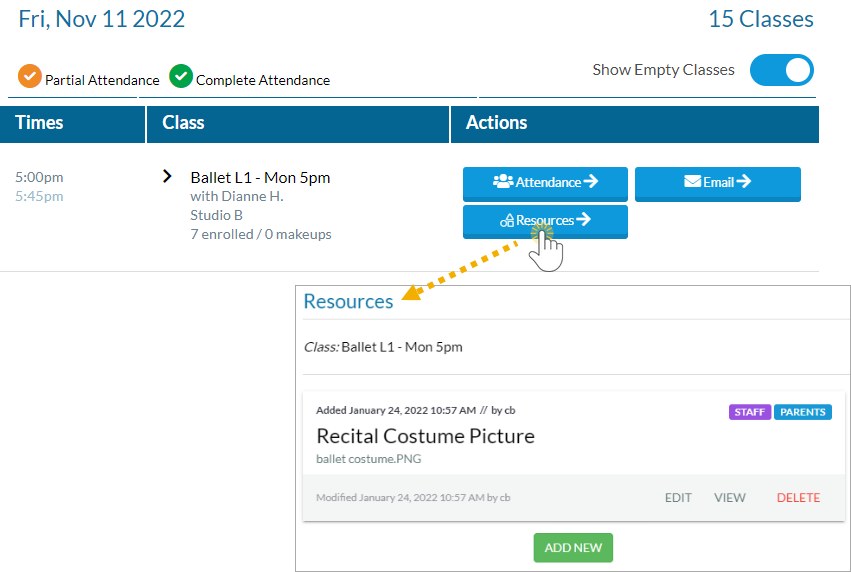
- Enable Is this a restricted resource? if the resource should be restricted to specific users. Restrict access to the resource if it involves confidential or sensitive information. When restricted, only Jackrabbit Users with the View Restricted Files User permission will be able to see the resource. Note: If the file is restricted, the resource will not be viewable in the Parent Portal.
- Select the Resource location:
- I'll upload it - When you opt to upload the resource, you'll use the Select files... button to locate the file on your computer. Accepted file types include the following:
.doc .pdf .jpg .txt .xls .jpeg .odt .rtf .html .epub .png .mp3 .mp4 .csv .eml .docx .xlsx .tex .wks .wps .wpd - I'll link to it - When you opt to link to the resource, enter the URL in the Resource Link field, e.g., a link to a YouTube video or a file you have stored in DropBox, etc.
- I'll upload it - When you opt to upload the resource, you'll use the Select files... button to locate the file on your computer. Accepted file types include the following:
- Click ADD. The resource is added to the Class record.
 button on the Resources tab to open the Add a resource pop-up window.

